Tutorial: French Tips with a Twist on Acrylic Nails
Mastering the Ombre Effect: Step-by-step instructions on achieving a beautiful ombre effect on your French tips.
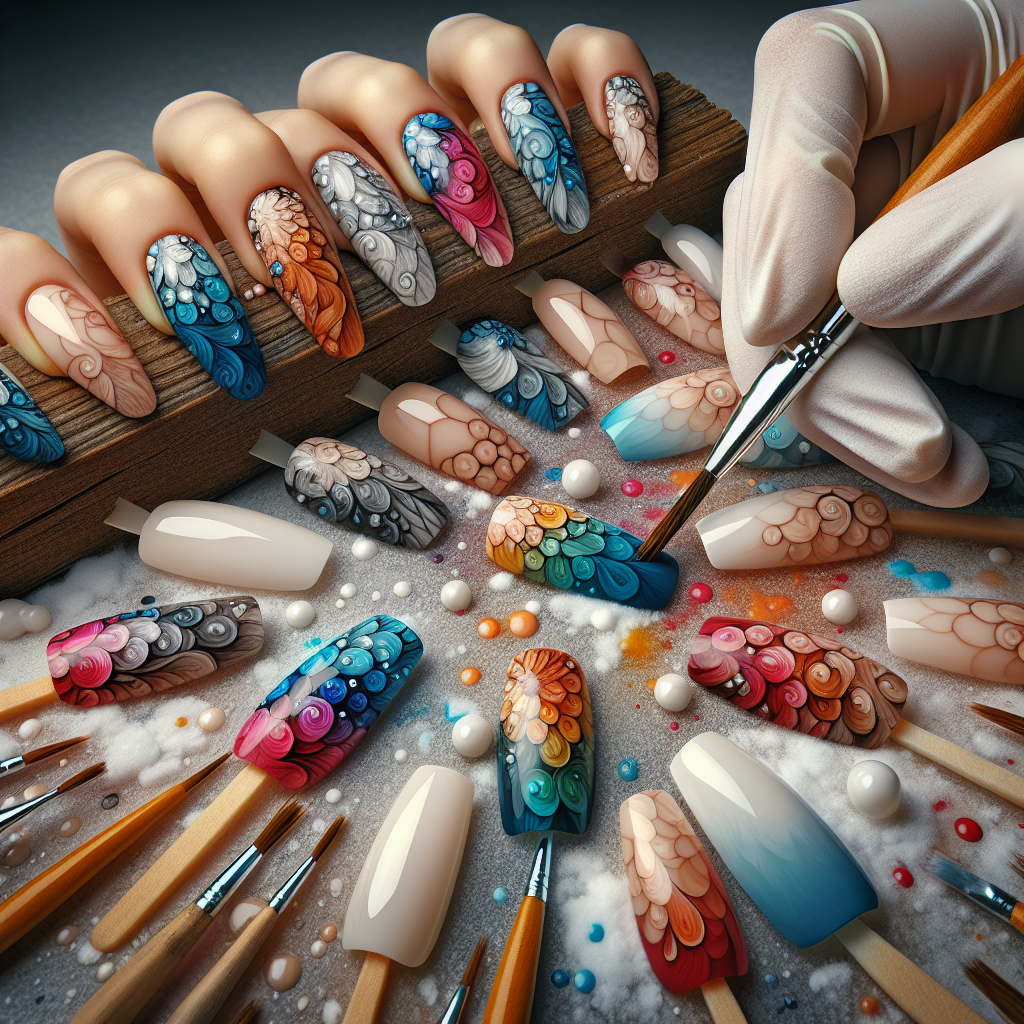
The ombre effect is a popular and beautiful way to add dimension and depth to your French tip design. It involves blending two or more colors together seamlessly, creating a gradient effect that is both eye-catching and trendy.
To achieve the ombre effect on your French tips, start by selecting two complementary colors that you would like to blend. A popular choice is a subtle nude shade as the base, paired with a bold and vibrant color for the ombre effect.
Once you have your colors selected, apply a base coat of the nude shade to your nails. Then, take a makeup sponge and apply the second color to the tip of the sponge. Gently dab the sponge onto the tip of your nail, ensuring that the color fades as it reaches the base. Repeat this step for all your nails, and voila! You have successfully mastered the ombre effect on your French tips.
Styling with Stencils: How to use stencils to create intricate patterns and designs on your French tips.
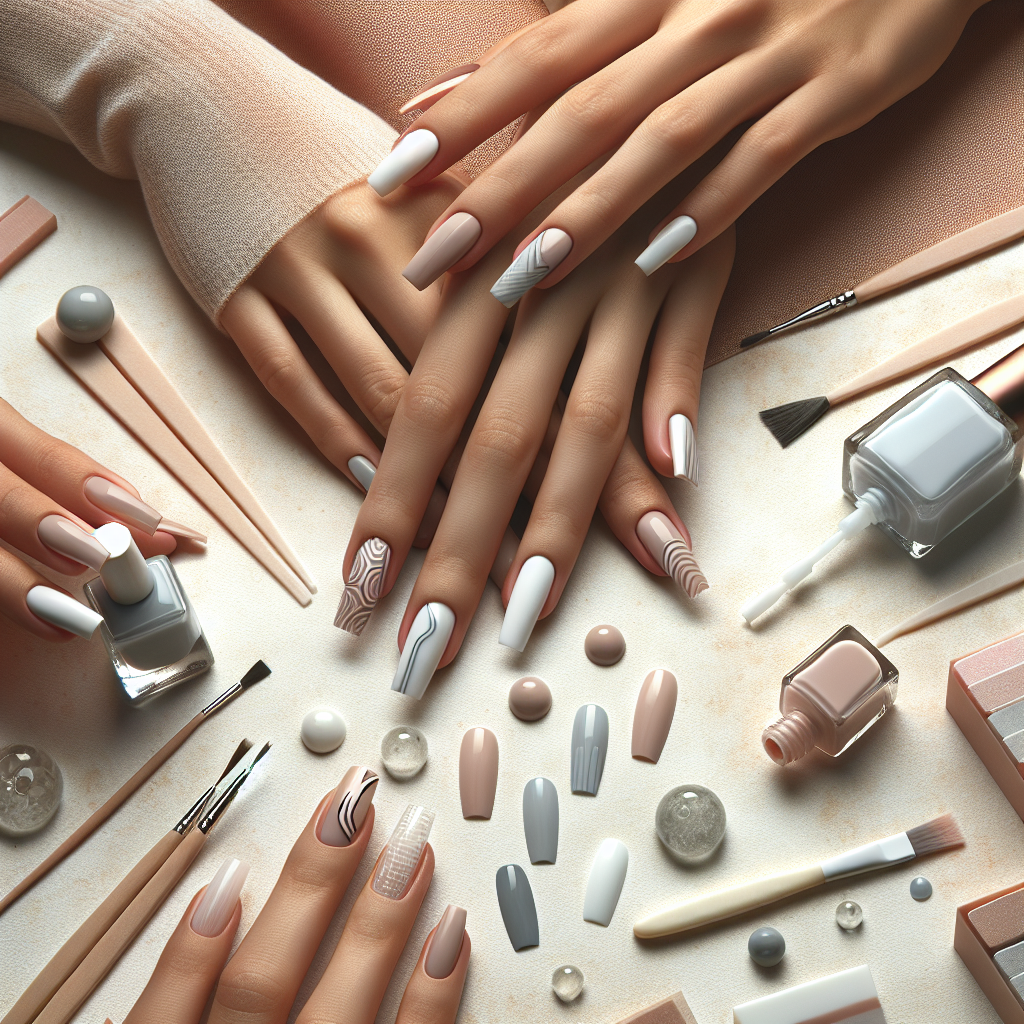
Styling with stencils is a fun and easy way to create intricate patterns and designs on your French tips. Whether you’re a beginner or an experienced nail artist, stencils can help you achieve professional-looking nail art with minimal effort.
To use stencils, start by applying a base coat and letting it dry completely. Then, choose a stencil that matches the design you want to create. Place the stencil on your nail and press it firmly to ensure it sticks in place. Next, apply the desired nail polish color over the stencil, making sure to cover the entire area. Once done, carefully remove the stencil, revealing the beautiful pattern or design underneath. Finish off with a top coat to seal the design and add shine and longevity to your French tips.
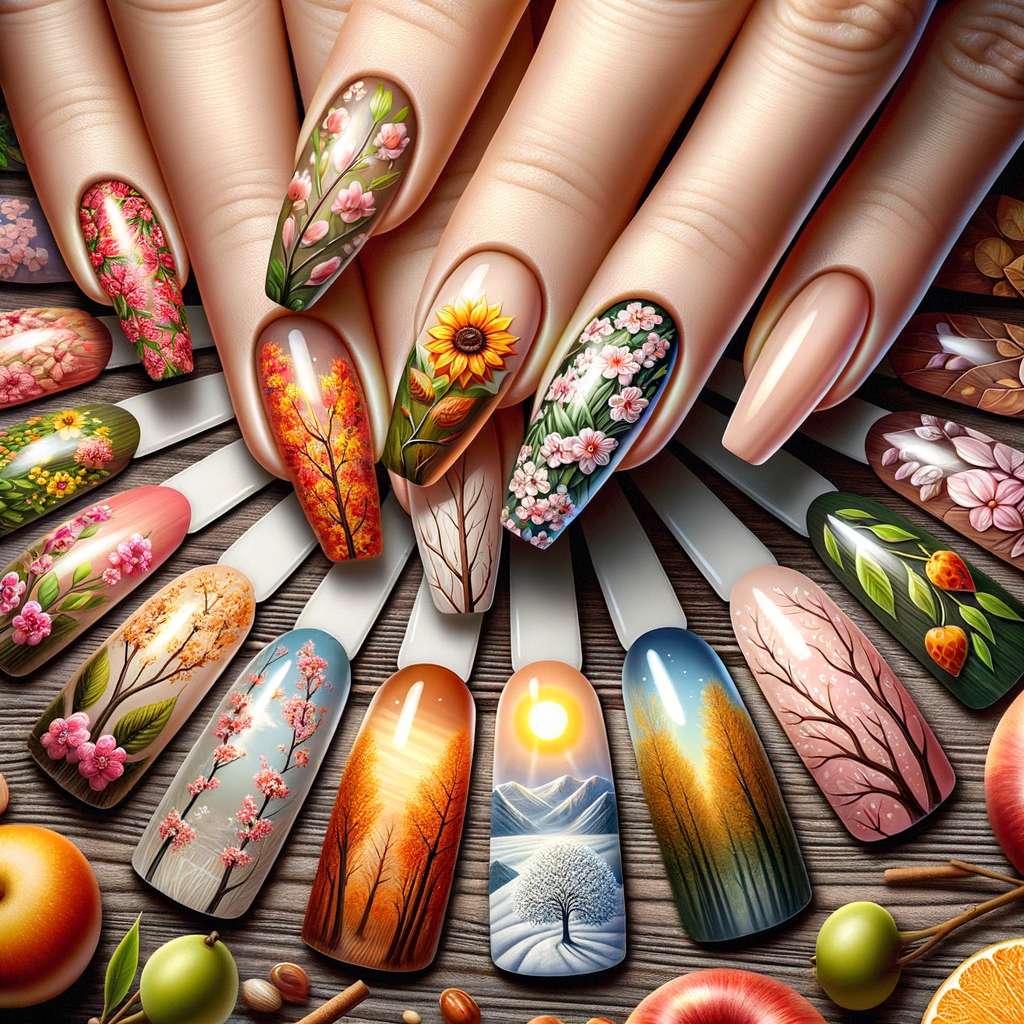
Styling with stencils opens up a world of possibilities for your French tip designs. From intricate lace patterns to geometric shapes, there are endless options to explore. Experiment with different stencil designs and color combinations to create unique and eye-catching nail art. So go ahead, grab your stencils and let your creativity shine through your French tips!
Adding Sparkle: Tips and tricks for incorporating glitter and rhinestones into your French tip design.
When it comes to adding sparkle to your French tip design, glitter and rhinestones are the perfect accessories. These dazzling elements can take your nails from simple to stunning in no time.
To incorporate glitter into your French tip design, start by applying a base color to your nails. Once dry, apply a layer of clear nail polish to one-third of the nail, starting from the tip. While the polish is still wet, sprinkle glitter over the area and gently press it down with a clean brush.
If you want to add rhinestones to your French tip design, apply a clear nail polish or a special adhesive specifically designed for nail art. Using tweezers, carefully place the rhinestones onto the desired area, making sure to press them down gently to ensure they stay in place. You can arrange them in a pattern or create a gradient effect by using different sizes of rhinestones.
Perfecting the Shape: Techniques for achieving different nail shapes that complement your French
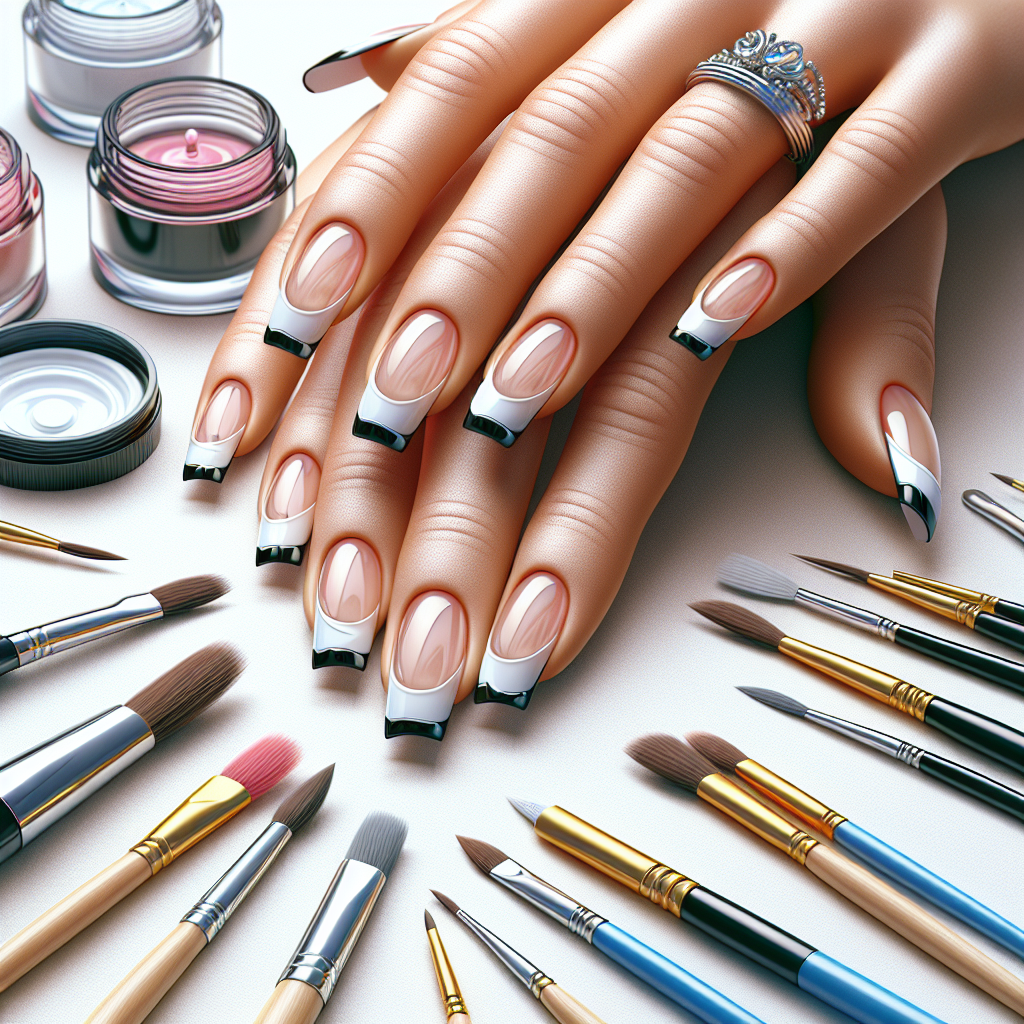
Achieving the perfect nail shape is essential for complementing your French tip design. Whether you prefer a classic square shape or a trendy almond shape, finding the right nail shape can enhance your overall look. For those who want a more natural-looking nail, a round shape is a great option. It mimics the shape of your cuticle and creates a soft and feminine appearance. If you want to make a bold statement, opt for a stiletto shape. This long and pointed shape is perfect for those who want to showcase their creativity and individuality. And for those who want a balance between stylish and practical, an oval shape is ideal. It elongates the fingers and provides a polished and sophisticated look. With these techniques for achieving different nail shapes, you can find the perfect match for your French tip design.
In addition to the shape, the length of your nails is also crucial in complementing your French tip design. Short nails are low-maintenance and practical, making them ideal for those with an active lifestyle. They also provide a clean and chic canvas for your French tip design to shine. On the other hand, long nails exude elegance and drama. They allow for intricate designs and artistic expression. However, keep in mind that long nails require more care and maintenance. It’s important to find a length that is comfortable and suits your lifestyle. Whether you choose short or long nails, pairing them with the right shape will enhance the overall aesthetic of your French tip design.


